Mandrill
Mandrill stands out as a renowned email delivery and marketing service, presenting businesses with a trustworthy method for sending both transactional and marketing emails.
You must have Mandrill account.
1 Go to Dashboard > Notifications > Email > Email Providers .
2 Click on + ADD PROVIDER
3 You will be directed to the New Email Provider page. All the available providers will be displayed here.
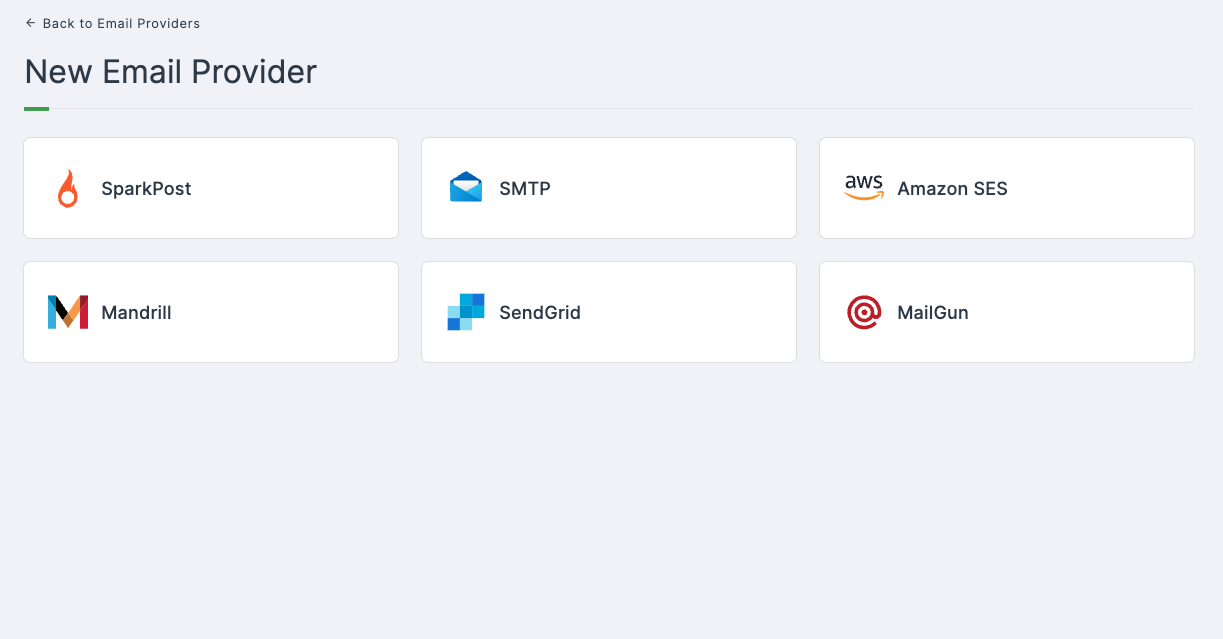
4 Click on Mandrill.
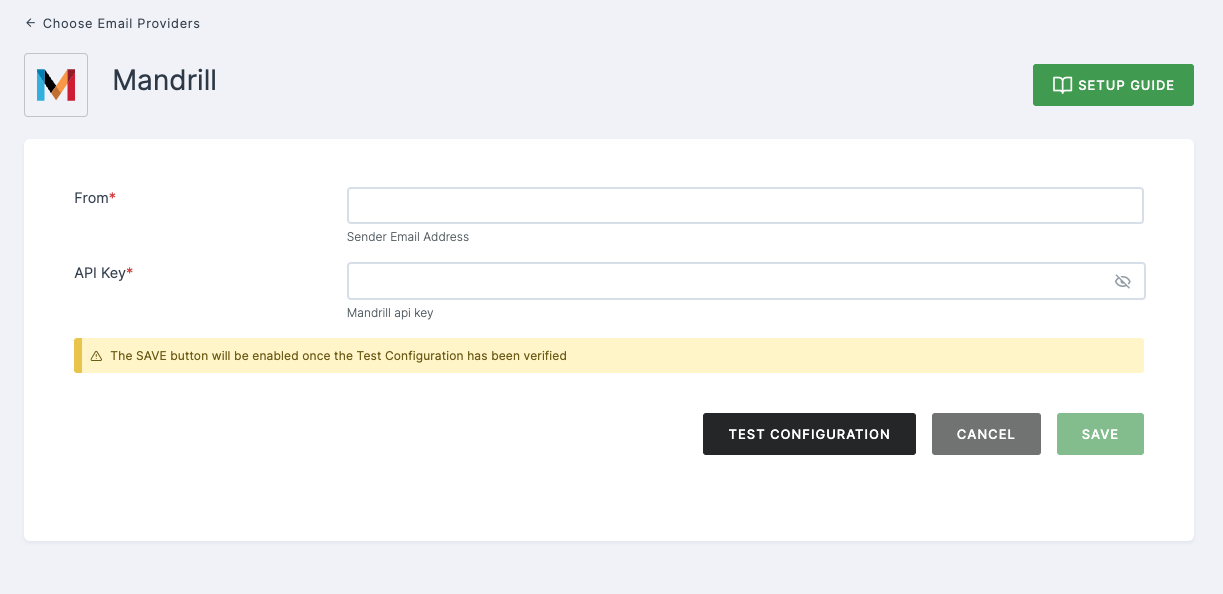
5 You will taken to the Mandrill configs page. To get the necessary configs, follow the further steps.
- Log in to your Mandrill account.
Mandrill is a paid Mailchimp add-on. If you haven't added Mandrill to your Mailchimp account, do that first.
Begin by verifying your domain for the first time. Provide the email address containing the domain you wish to verify.
Click on the profile icon on the top right corner > Click on Account & billing.
Navigate to the Domains tab and initiate the process of verifying your domain.
Once the domain is verified, navigate to Extras, and from the drop down, select the API keys.
Generate a new API key by providing a descriptive name.
The API key will be generated, copy to clipboard.
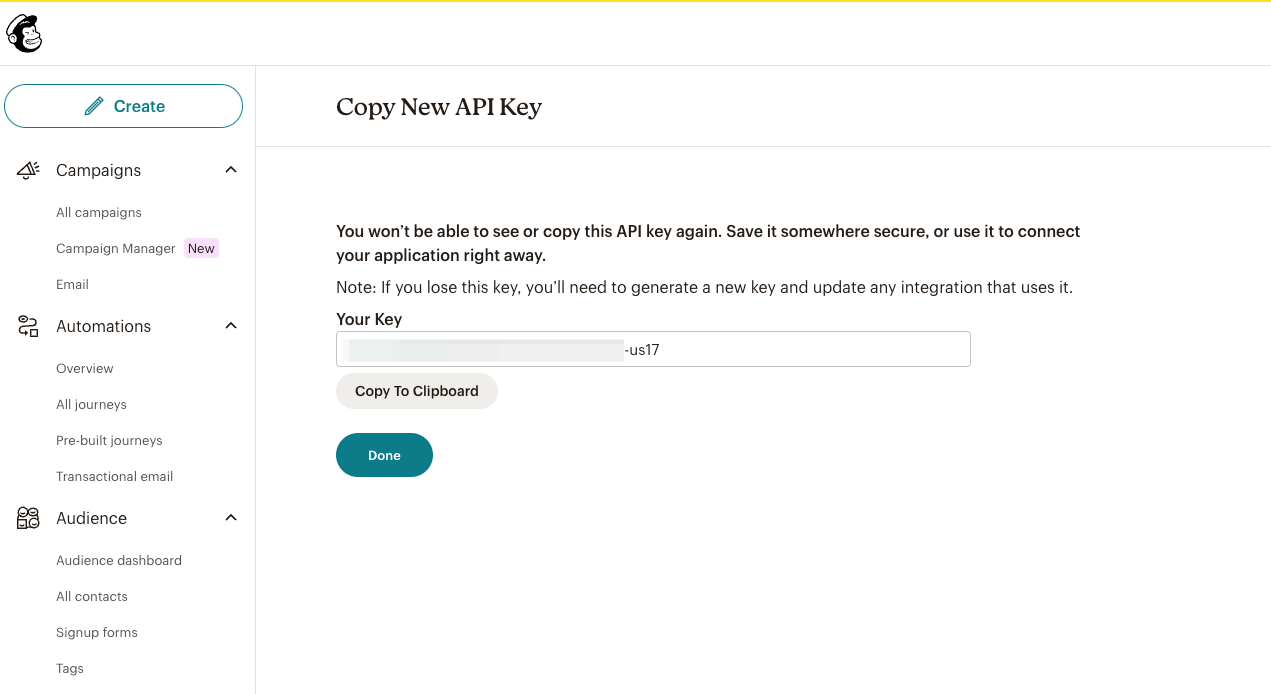
6 Navigate back to your Dashboard and input the API key.
7 After providing the necessary configurations.
8 Click on TEST CONFIGURATION to ensure the configuration looks good.

10 Provide email address and click on SUBMIT.
11 If everything is set up correctly, a test success email will be sent to the email address you provided earlier. Click on SAVE.